So since I began my Necron project a lot of people have been asking me about how to paint up these metallic monsters in a quick, simple but effective manner. When I started this new army I decided that I wanted to be able to paint them speedily in order to build up a feasible force relatively quickly. In fact this was a key reason why I chose the Necrons as their predominantly metallic paint scheme lends itself to speed painting.
So this week I have made a quick painting tutorial so people can see how easy it is to knock out a relatively decent force of killer robots.

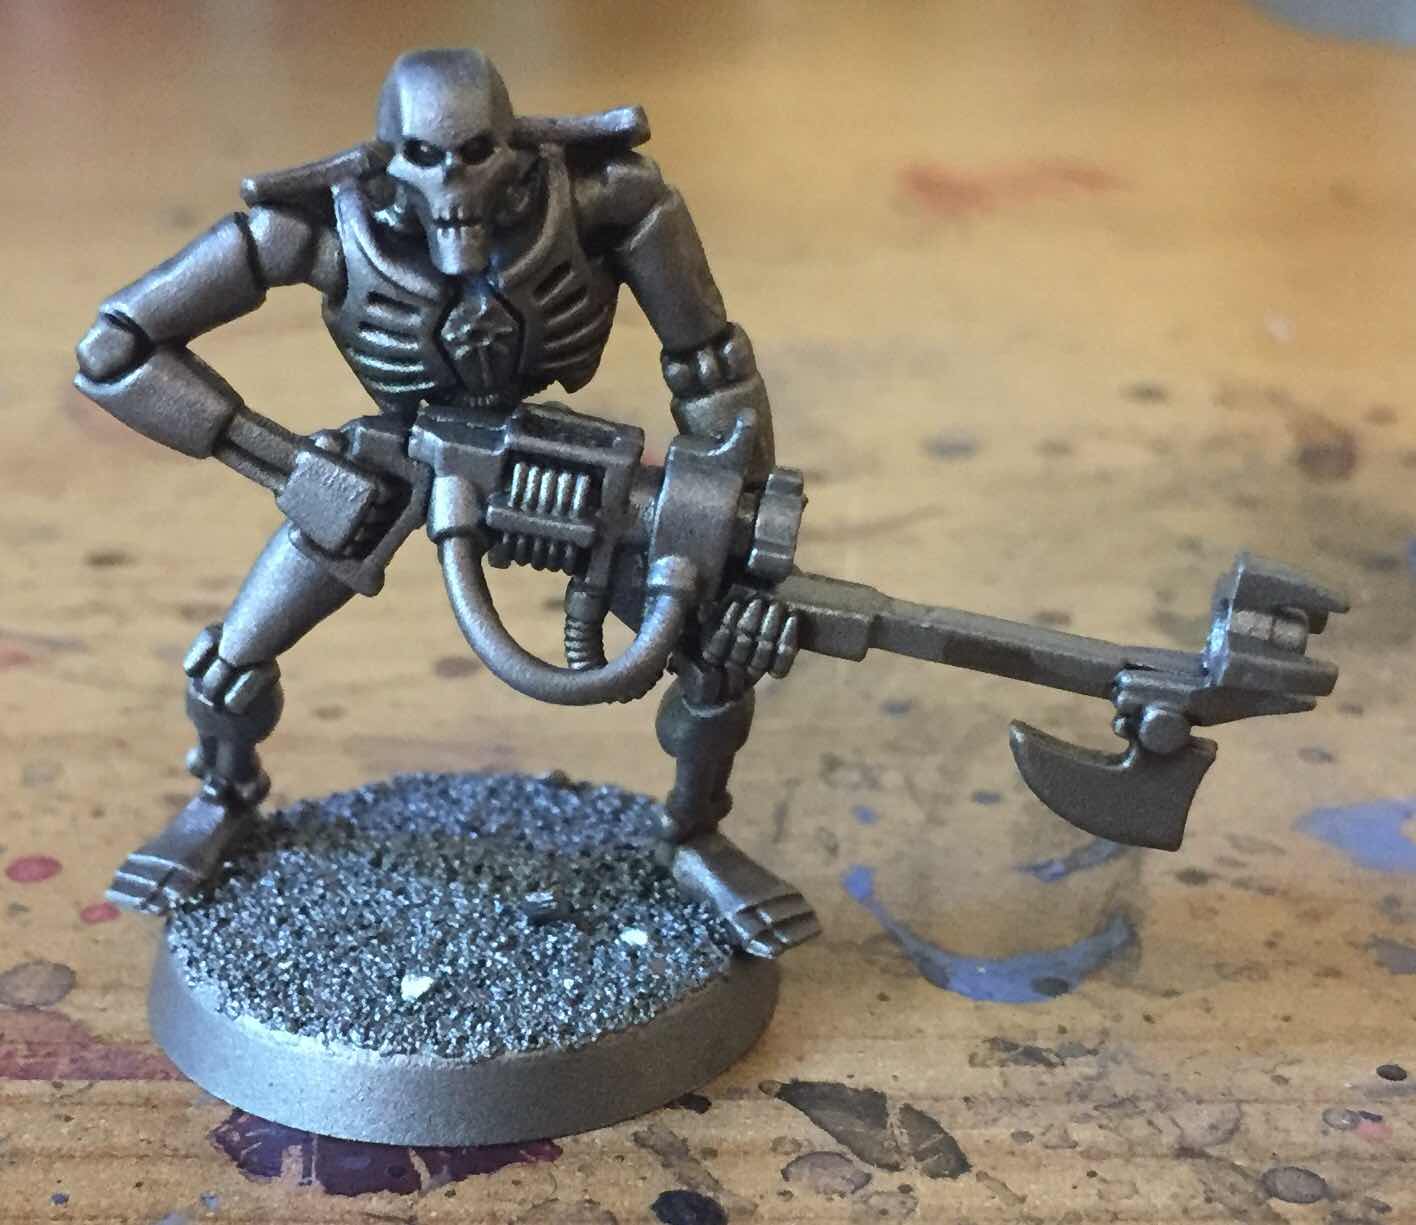
First clean up and prepare the model. I actually found Necrons to be a little bit fiddly to put together compared to my usual (and beloved) Space Marines.... and by God they have a lot of mould lines on them. So a lot of time was actually spent with a sharp modelling knife removing these pesky lines. Then I stuck some sand to the base with a little PVA glue.

Once the sand was dry I then sprayed the model with a can of Citadel Leadbelcher; this stuff is amazing. It gives a perfect finish and cuts down paint time by about 90%.

Once the paint was dry I then gave the whole model a liberal wash of Agrax Earthshade. I personally like this particular shade as it gives the model an ancient rusted appeareance, however if you’re looking for a cleaner look then just use Nuln Oil instead.
As soon as the wash is dry then the model is given a quick drybrush of Necron Compound all over.

Whilst the drybrushing does provide a degree of highlighting and transition I personally chose to further pick out key edges with a thin highlight of Stormhost Silver.
This stage is entirely optional and whilst it does make the miniature pop you could quite happily skip it.

I then blacked out the weapon and the chest plate with a couple of layers of Abbadon Black.

For the green cable I based the wire in Caliban Green then gradually mixed in a little Warpstone Glow and consistently layered it up, adding a little of the lighter paint each time.
I then carried on layering by adding a little Moot Green to the mix. Eventually I gave it a glaze of Waywatcher Green all over in order to tie the blending together.

For the chest symbol I simply gave it an initial basecoat of Warpstone Glow followed by a very slight highlight of Moot Green.

To finish off I highlighted all the black areas with a thin line of Eshin Grey followed by a very fine highlight of Dawnstone.
I then painted the base with Steel Legion Drab followed by a quick dry-brush of Tyrant Skull. The green rod was added with a dash of PVA glue (as it dries clear) and a tuft of grass was superglued to the base.
And voila.... there we have it! One complete Necron Warrior ready to drawn the infinite ranks of the metallic Legions!
As I say this is a fairly quick and easy scheme to apply and it’s perfect for doing 10-12 models at a time.
I’m currently working my way towards getting 60 of these fellas painted up!
Cool! I think I told you, I'm using Vallejo metals and I'm not satisfied. Your results look gorgeous!
ReplyDeleteCheers mate. I’ll be honest I think Citadel metallics are great. They always come out well.
DeleteKeep at it old chap.
ReplyDeleteI shall do..... I’m slogging through a few more robot killers right now!
Delete